Tiers of the Cake


A tasty slice of inspiration...

Hello foodies,

A huge warm welcome to Red Velvet Baking, the blog! I have been baking since I can remember and I have always wanted to share my experiences and tasty flair beyond the walls of my own home. In summer 2011 I launched this little blog. I blog as a celebration of my achievements and dedication to my culinary passion, alongside an overflow of my enthusiasm, with a few added delicious recipe ideas. Pictures and tips galore, sure enough to sink your teeth right into and to get your mouth watering. Delicious beautiful baking can put a smile on anyones face.

Summer 2013 saw me train for a month at Leiths, gaining a distinction in practical cookery and last summer I ran a culinary arts course in the USA, specialising in baking.

I am now back in the UK, writing for my blog from sunny Yorkshire. 2015 is going to be a big year for Red Velvet Baking, so keep posted!

Keep calm, enjoy and most importantly BAKE!


Jessica

xox

Twitter @RedVelvetBaking
Instagram @RedVelvetBaking
Pinterest Red Velvet Baking
Facebook Red Velvet Baking
Website - Undergoing a magical makeover!

Find the missing sprinkle...

Saturday, 7 February 2015

Eat: Maple Biscuits with The Biscuiteers DIY Valentine's Royal Icing

Hello foodies :)


It's been an incredibly busy week, baking up all kinds of sweet treats. With Valentine's Day fast approaching, like many foodies, you're probably looking at all the sea of delicious chocolate hearts, cookies, flower piped cupcakes etc., but what about doing something a little special and making it yourselves.


With a bit of encouragement from the fantastic team at Biscuiteers, I spent last weekend piping little love inspired biscuits. What screams love more than homemade!

I took the biscuits into work and the feedback was heart-warming!

"Confession – I scoffed the last 3 of these this afternoon! Can you share the recipe please? Absolutely delicious, and for some reason they brought back a flood of really early memories, of home and infant school and Christmas and all sorts of nice things. Quite unexpected!"

This makes baking all the more worthwhile.

I adapted this biscuit recipe from the Biscuiteers Pistachio biscuit recipe, which is equally tasty!

Maple Biscuits

These biscuits are soft and sweet, with a lovely golden crispness round the edges. As I used a smaller cutter, this recipe made absolutely loads of little biscuits, so you may want to buy a BIG box to fill with your lovely homemade treats.

Ingredients

167g Salted butter
167g Caster sugar
167g Maple syrup
2 Large eggs
470g Plain flour
127g Self raising flour

Method

  • Preheat the oven to 130°C
  • In a large bowl combine the butter, sugar, maple syrup, eggs and using a hand held mixer or stand mixer, mix at a slow speed until all the ingredients are combined. When the ingredients are mixed together, increase the speed so that all the lumps disappear.
  • Sift in both the flours and mix together until the mixture forms a smooth dough. Wrap the dough in cling film and place in the fridge for 30 minutes.
  • Place the dough on a sheet of parchment and begin by gently squashing the dough down with a rolling pin or your hands. Cover with a second sheet of parchment and then use the rolling pin to roll out properly. The top sheet of paper may crinkle from time to time, just peel it off and smooth it down gently before starting to roll again.
  • You can use any shaped  cutter, but as it's the month of love I used a small heart shaped cutter and a round cutter, to cut the dough. If you can't find a cutter, you can always try free hand by using a sharp knife. This technique looks a little more rustic and homemade. Place on a parchment paper lined baking tray, ready for the oven.
  • Bake in the middle of the oven for 26 minutes or until the biscuits are slightly golden in colour. my biscuits took less time, due to being slightly smaller, so bare that in mind when you're walking out of the kitchen!
  • When the biscuits are evenly cooked remove the trays from the oven and transfer the whole sheet of parchment to a cooling rack. Do this carefully as the biscuits will be quite fragile and hot!
  • Make sure the biscuits are completely cool before starting to ice.

Royal Icing


The Biscuiteers suggest one of three royal icing recipes, which can be found on their blog. I chose to use their egg white recipe, but be wary because it makes a lot! In fact, I refrigerated mine to use on other baking projects the following day.

Ingredients

4 Egg whites
900g Icing sugar

Method

Royal icing is incredibly simple to make and so satisfying to watch the bright white ribbons as it whisks.

  •  Place the egg whites into a large mixing bowl. If using a stand mixer, make sure the bowl is compatible.  
  • Add the icing sugar and whisk or for about 5 minutes using an electric whisk or stand mixer. If you want to do this by hand, use a wooden spoon and you may need to beat it for longer. Make sure you start whisking quite slowly, to avoid clouds of icing sugar coating you and your kitchen! 
  • Continue whisking until the ingredients form a thick, smooth paste that is bright white in colour and has the consistency of toothpaste.
Note: At this stage you can whisk in your favourite colours! I recommend gel colours, which interfere less with the consistency. Also, it you're not using the icing straight away, make sure you cover the bowl and refrigerate, to avoid the icing drying out.


Let the Piping Begin...

  • Fill your reusable piping bag with a few spoonfuls of your chosen colour and cut the tip of the piping bag to create a small opening for the icing to flow through. Alternatively, you can place a small writing tip in the piping bag. I would recommend Wilton nozzles 1 or 2.
  • You need to pipe an outline on each of the biscuits, so that the smooth flood icing remains contained. Make sure there are no gaps in the outline!


  • Leave the biscuits for around 5 minutes to dry, before using the flood icing.
  • Flood icing is a little looser than the royal icing used to create the outline. You can loosen the icing by gradually whisking in water. I was extremely cautious here and ended up not loosening my icing enough, which made the flooding more difficult. It is good to be cautious, but you want it to be runny enough to move fluidly when poured.
  • Once the flood icing is sufficiently loose, place it in a squeeze bottle or reusable piping bag and flood each biscuit, following the outline of the shape inwards. Make sure to use a cocktail stick to carefully remove any air bubbles or gaps and give the biscuit a tap against a hard surface, to even out the coating.
  • Once evenly coated, place the biscuits back onto the baking tray and into the oven at 50C or the lowest setting your oven will go. Leave them to set in the oven for around 30 minutes and serve them once cooled.


Check out the Biscuiteers online tutorial.


LOVEly Designs

If you're up for a bit more of a challenge, why not try the Biscuiteers polka dot biscuit, with white spots of royal icing piped onto the base, whilst wet. You can also pipe over the dry designs with writing, like seen in my pictures. SweetAmbs has some other Valentine's inspired designs too!


Feeling Lazy?

If you're not up for handmade treats this year or you haven't got the time, why not check out the Biscuiteers online shop for a quick valentines biscuit delivery!


Keep calm and spread the love <3

Jess xo


Monday, 2 February 2015

Eat: Double Cream Fudge

Hey foodies,


So like I mentioned on my previous post, I'm testing fudge recipes for a new business venture. I've been running little focus groups with each type, just to get the gist of what all you fudge eaters are looking for in your favourite fudge. It has been a battle between, texture and flavour, with a few tests still to go.

As you may know, fudge is made by bringing milk, sugar and butter up to about 114c. The question is, which milk product or sugar type makes the best, tooth achingly sweet fudge.


The first in my trials was a double cream recipe. A particularly simple recipe, if a tad indulgent, this fudge was soft and creamy. You couldn't eat a lot though, it was rather rich. Nonetheless, it was gone rather quickly! 


Check out the recipe below and give it a go yourself!


Keep calm and get your wooden spoons ready!

Love,

Jess

Creamy Fudge 

Adapted from All Recipes UK

Ingredients:

  • 400ml double cream
  • 450g golden caster sugar
  • 50g butter
  • 1tbsp liquid glucose
  • 1tsp vanilla extract (optional)

Method:

Prep: 15 min | Cook: 15-20 min | Cooling: 3 hour (min)


  1. Grease and line the base of a square 20 cm cake tin
  2. Combine all ingredients in a heavy, deep saucepan, over a medium heat and stir until the sugar has dissolved.
  3. Put your thermometer into the mixture and increase the heat to medium-high, bringing the mixture to a rolling boil. Keep the mixture at a rolling boil, stirring occasionally to stop the mixture catching the bottom of the pan, until the temperature reaches 114 degrees C - 116 degrees C. This is known as soft ball stage, if you don't have a thermometer, you can test by dropping a little of the mixture into cold water, if it's ready, it will form a soft ball. At this stage, remove the pan from the heat.
  4. Once the temperature has dropped to 110 degrees C, about 5 minutes cooling time, beat the mixture with a wooden spoon. Keep the thermometer in, to watch the temperature drop to 60 degree C. This should take about 10 minutes and there is a noticeable difference in the fudge, going from a glossy texture, to more granular. The fudge should also feel a lot thicker and start to move away from the sides of the pan.
Note: This is the most important stage, as during cooling, small crystals form, which when beaten, create a smooth texture. Without this, your fudge may be granular.

      5. Once thicker and loosing shine, you have a small window at which to get the fudge into your prepared tin and leave to cool until set. Once set cut and package or serve.

Note: Do not be tempted to rush this stage, as putting fudge in the fridge actually prevents the fudge from setting properly and can cause it to loose its firmness, becoming sticky and difficult to cut.


Enjoy!


Wednesday, 28 January 2015

The Future is Bright. The Future is Fudge.

Hey foodies!

So, as promised, I'm back. For good this time!

With last years cakey success and my entrepreneurial drive nipping at my toes, I'm thinking about the future of Red Velvet Baking. Cakes are delicious and it's well known that I adore them! The thing is with cakes, though, is that they really don't enjoy being shipped, without the love and care of the baker. So what else can I do to expand my empire and share more delicious, tooth-achingly sweet goods with the world? 

Fudge. Not just fudge, but a whole new range of confectionery items AND an online shop! That's my next vision. Over the coming weeks I will be sharing my trials with new recipes, testing flavour combinations and really going back to basics with the traditions behind fudge making. As this first quarter passes, I'll also be trialling some marshmallow recipes and don't worry, there'll be pictures to match. Enough to make your mouth water!

So watch this space! Oh and make sure to comment below with the weirdest and wackiest flavours you'd like to see me bring to market! Following my brand though, this will be quality, tasty stuff!

Keep calm and let's fudge it up!

Love,

Jess 

Saturday, 24 January 2015

365 New Days = 365 New Challenges

Hello foodies,

It's been a while since I last blogged and as always, a lot has happened!

I think it would crash blogger if I tried to explain it all in one post, so expect a few posts reminiscent of 2014, just to bring you up to speed.

So it's a new year and after days of thinking of the 365 ahead, or should I say 341 now, I have finally chosen a few inspiring resolutions.

To help me choose these cheeky challenges, I reflected heavily on some of my favourite moments of 2014. I'd say my top three were:

  • Disneyland Paris for my 21st birthday - who doesn't enjoy the magical kingdom?!
  • Teaching culinary arts in the USA and meeting the most beautiful friends
  • Celebrating my graduation, with delicious food, plenty of drink and my incredible family
So a pretty amazing year! How could I top those incredible experiences?

Well, the past few years I have been learning, leaning on others, absorbing information and setting myself up for my future. 2015 is now a year for growth - using the knowledge and learning to progress myself, my business, my career and my aspirations. So five top resolutions to inspire 2015 would have to be:

  • Appreciate every day - not only because I love the film About Time, go watch it NOW if you haven't seen it, but because whilst I was in the US, I had plenty of time to reflect on what mattered most to me. Family, friends and of course - food! Don't let anything come between those all important F's.
  • Share - it's incredible how social our society has become, but yet what we are sharing is so fickle. I haven't shared enough with you guys, I owe a little more time to sharing not only fantastic recipes and pictures of tasty food, but my passion and enthusiasm for life and yet again, anything edible.
  • Explore - I've always been a bit of a home girl and although it's not a problem, over the last year I've learnt that a house is but a shell and it's the people that make it a home. Those people will forever be with me, wherever I go, so I want 2015 to be all about new adventures. Some may be small, like to visit my new camp besties around the UK and others may not even be physical journeys, but small steps exploring new ventures. So watch this space.

I promise this year to be my best blogging yet. It's like the all important light bulb has finally been switched on and I'm ready to begin a new journey, with all the wonderful and exciting challenges ahead.

What's your New Year's resolution? Make it count!

Keep calm, we are all in this journey through time together.

Love

Jess xo

Monday, 28 July 2014

Simply for Summer Camp: Mac 'n' Cheese

Hey foodies,


So as I am teaching away in America, I thought it would only be fair to share a couple of simple recipes with you guys too, starting with this super simple Mac 'n' Cheese. All the recipes I put up over the next two months will be incredibly kid friendly and can be done and dusted in less than an hour. Don't worry, I will be giving you the UK friendly recipes and saving the cups for the USA!

Right, let's get cooking...

Ingredients
·         250g elbow macaroni (cooked to packet instructions in salted water)
·         60g butter
·         60g plain flour
·         200g  cheddar (2oz extra for topping if serving grilled)
·         White pepper to taste
·         Pinch of paprika
·         400ml milk
·         Optional – fried off pancetta

Method
1.      Cook macaroni according to packet instructions in salted water on a hob.
2.      In a medium sized saucepan, melt butter over a medium heat.
3.      Stir in the flour off the heat, beating fast and return to the heat and cook out the flour for 1 minute, stirring continuously. CHECK Stir quickly and add gradually to avoid lumps.
4.      Remove from the heat and gradually add the milk, stirring quickly to keep the sauce smooth
5.      Once all the milk is added, return to a medium heat and stir until thickened (up to 5 minutes). Season whilst the sauce is thickening.
6.      Drain macaroni and add to thickened sauce, adding paprika and adjusting seasoning. (Add pancetta here). CHECK Hot pan with liquid – be careful.
7.      Either serve or transfer to an oven dish, sprinkle with extra cheddar and grill until cheese blisters.

Keep calm and let's get cheesy.

Love, 

Jess xo

Monday, 14 July 2014

Eggcellent Chocolate Filled Clandestine Cake Club

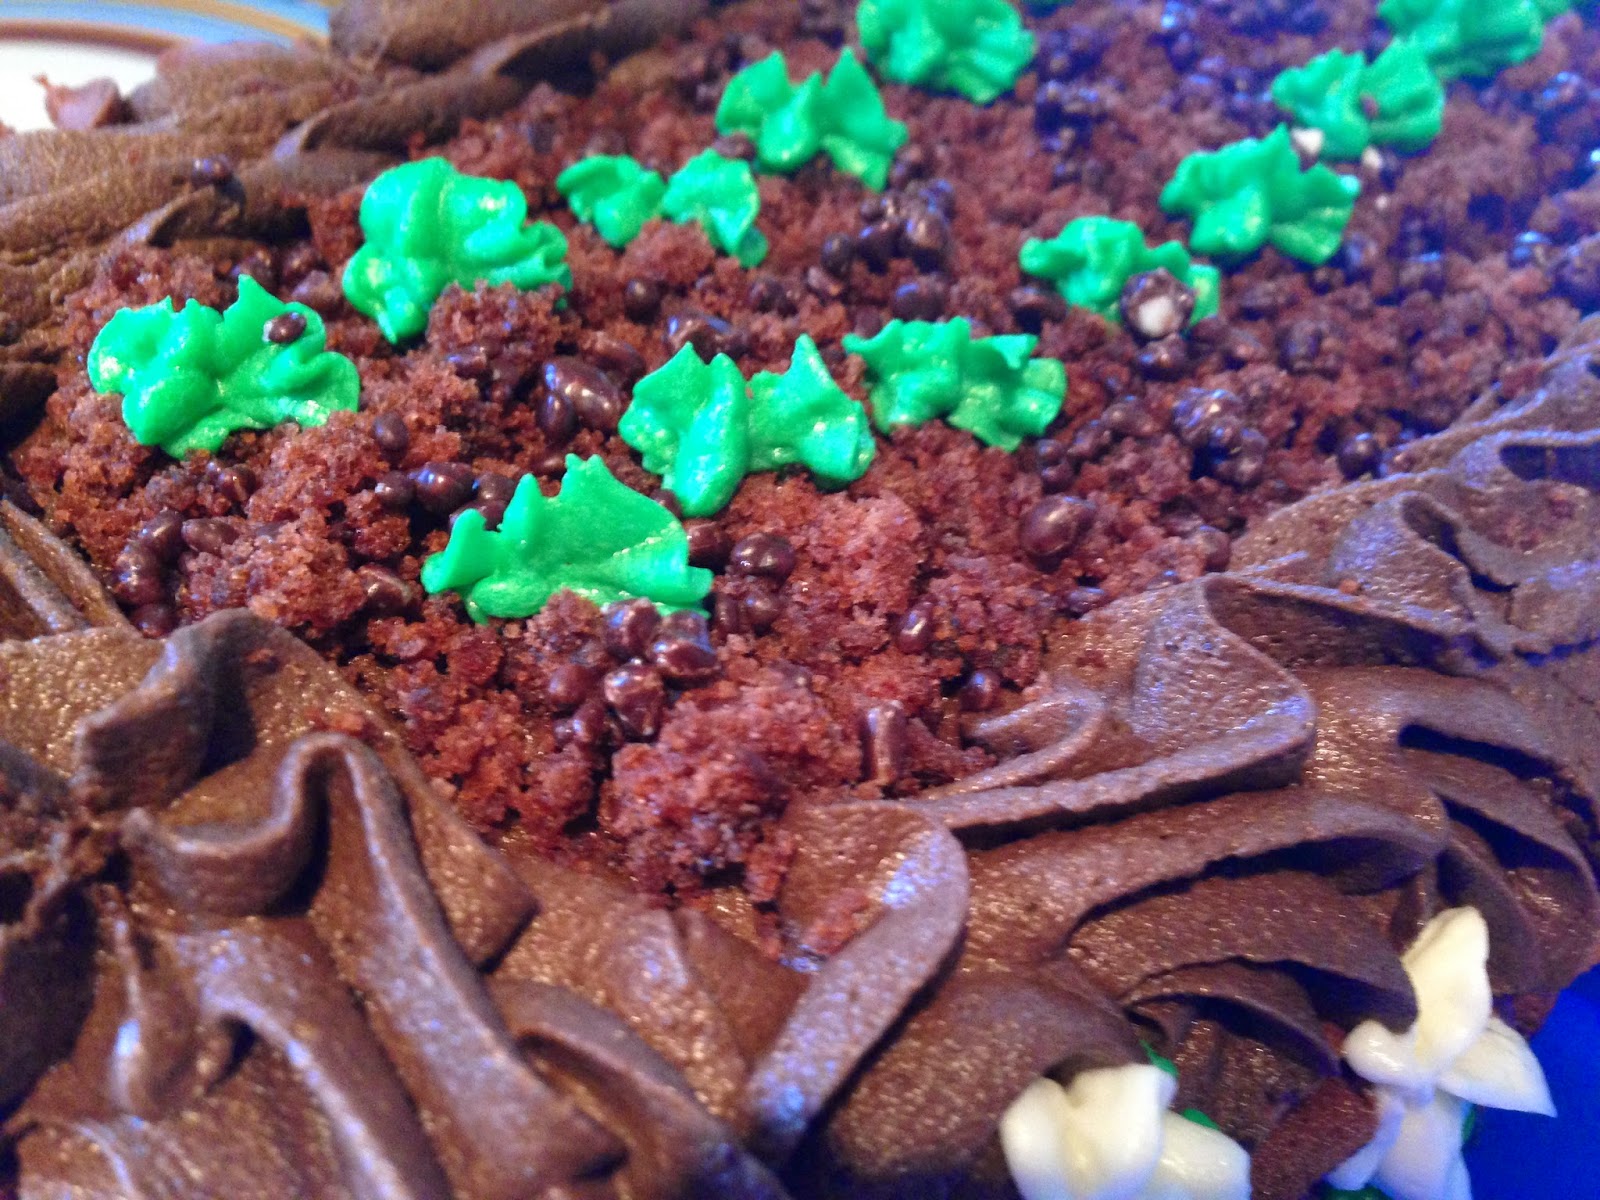
April saw a fantastically full gathering at the Clandestine Easter themed baking event, in Sheffield. It was a chocolate based event, so I obviously had to attend! With Spring fever, I baked a simple chocolate loaf cake and turned the decoration into a carrot garden bed, with rosette piped buttercream, vanilla flowers and bright orange carrots running through the centre of the cake - not forgetting the popping candy mud.


With spare mixture I also rustled up a few mini cupcakes. We held a dissertation hand in house party and the cupcakes went down a treat! Mini mouthful's of happiness!


The rest of the cakes were equally as delicious, including a Sachertorte, marble bundt cake and a few Brooklyn Blackout cakes. I took a big board of tasty treats home for my friends too!


You can see how busy this event was with the sheer number of tasty chocolate treats for us all to try.


Check out my home time cake platter! Chocolate cake never lasts long in my house though!


Keep calm and tuck in.

Love,

Jess xo

Monday, 7 July 2014

APP REVIEW: Cook with M & S


Hello all you cooking enthusiasts!

I trialled another app out and want you to let me know what you think - what do you like to cook most?

This week I tried out the reasonably new Cook with M&S application, to get all you packet natives, into using that kitchen side and messing up the chopping boards.

I was pleasantly surprised that there was less emphasis on getting you to cook using their ingredients and it actually seemed nice and simple to use, with a clean looking user interface. I mean the food photography is gorgeous - check it out simply to sit a drool!


In terms of it's real purpose, there are a number of functions which I enjoyed, including the cooking mode for step-by-step instructions. Each recipe is broken down and really simply explained with pictures. There is also an integrated link to add the recipe ingredients to a master shopping list, which I can imagine would be extremely useful if you were meal planning for a period of days. 

 In addition, there is a handy serving alteration button to add more or less servings. This automatically affects the recipe to exclude any calculations. Perfect for upscaling your favourite dishes to double as dinner party winners. I especially loved this as I hate the hassle of upscaling and the calculations involved - why not get the app to do it for you!


Another feature is the recipe book, where I can store all my favourite recipes by photographic thumbnail. Personally, I would prefer a more structured recipe filing system on the app, but it does come across very clean and efficient. All recipes are viewable initially via a picture thumbnail, name and include timings for people under limited time restrictions for culinary creativity. 

I did enjoy the app and felt rather inspired to get back in the kitchen and cook! Tell me your opinion or experience below...what are you looking for in a foodie cooking app?

Keep calm and get that apron on.

Love, 

Jess xo